Recipes
This webpage is an ongoing list of recipes:
annotated, simplified and often modified.
I have tested and like the results of all of
these recipes.
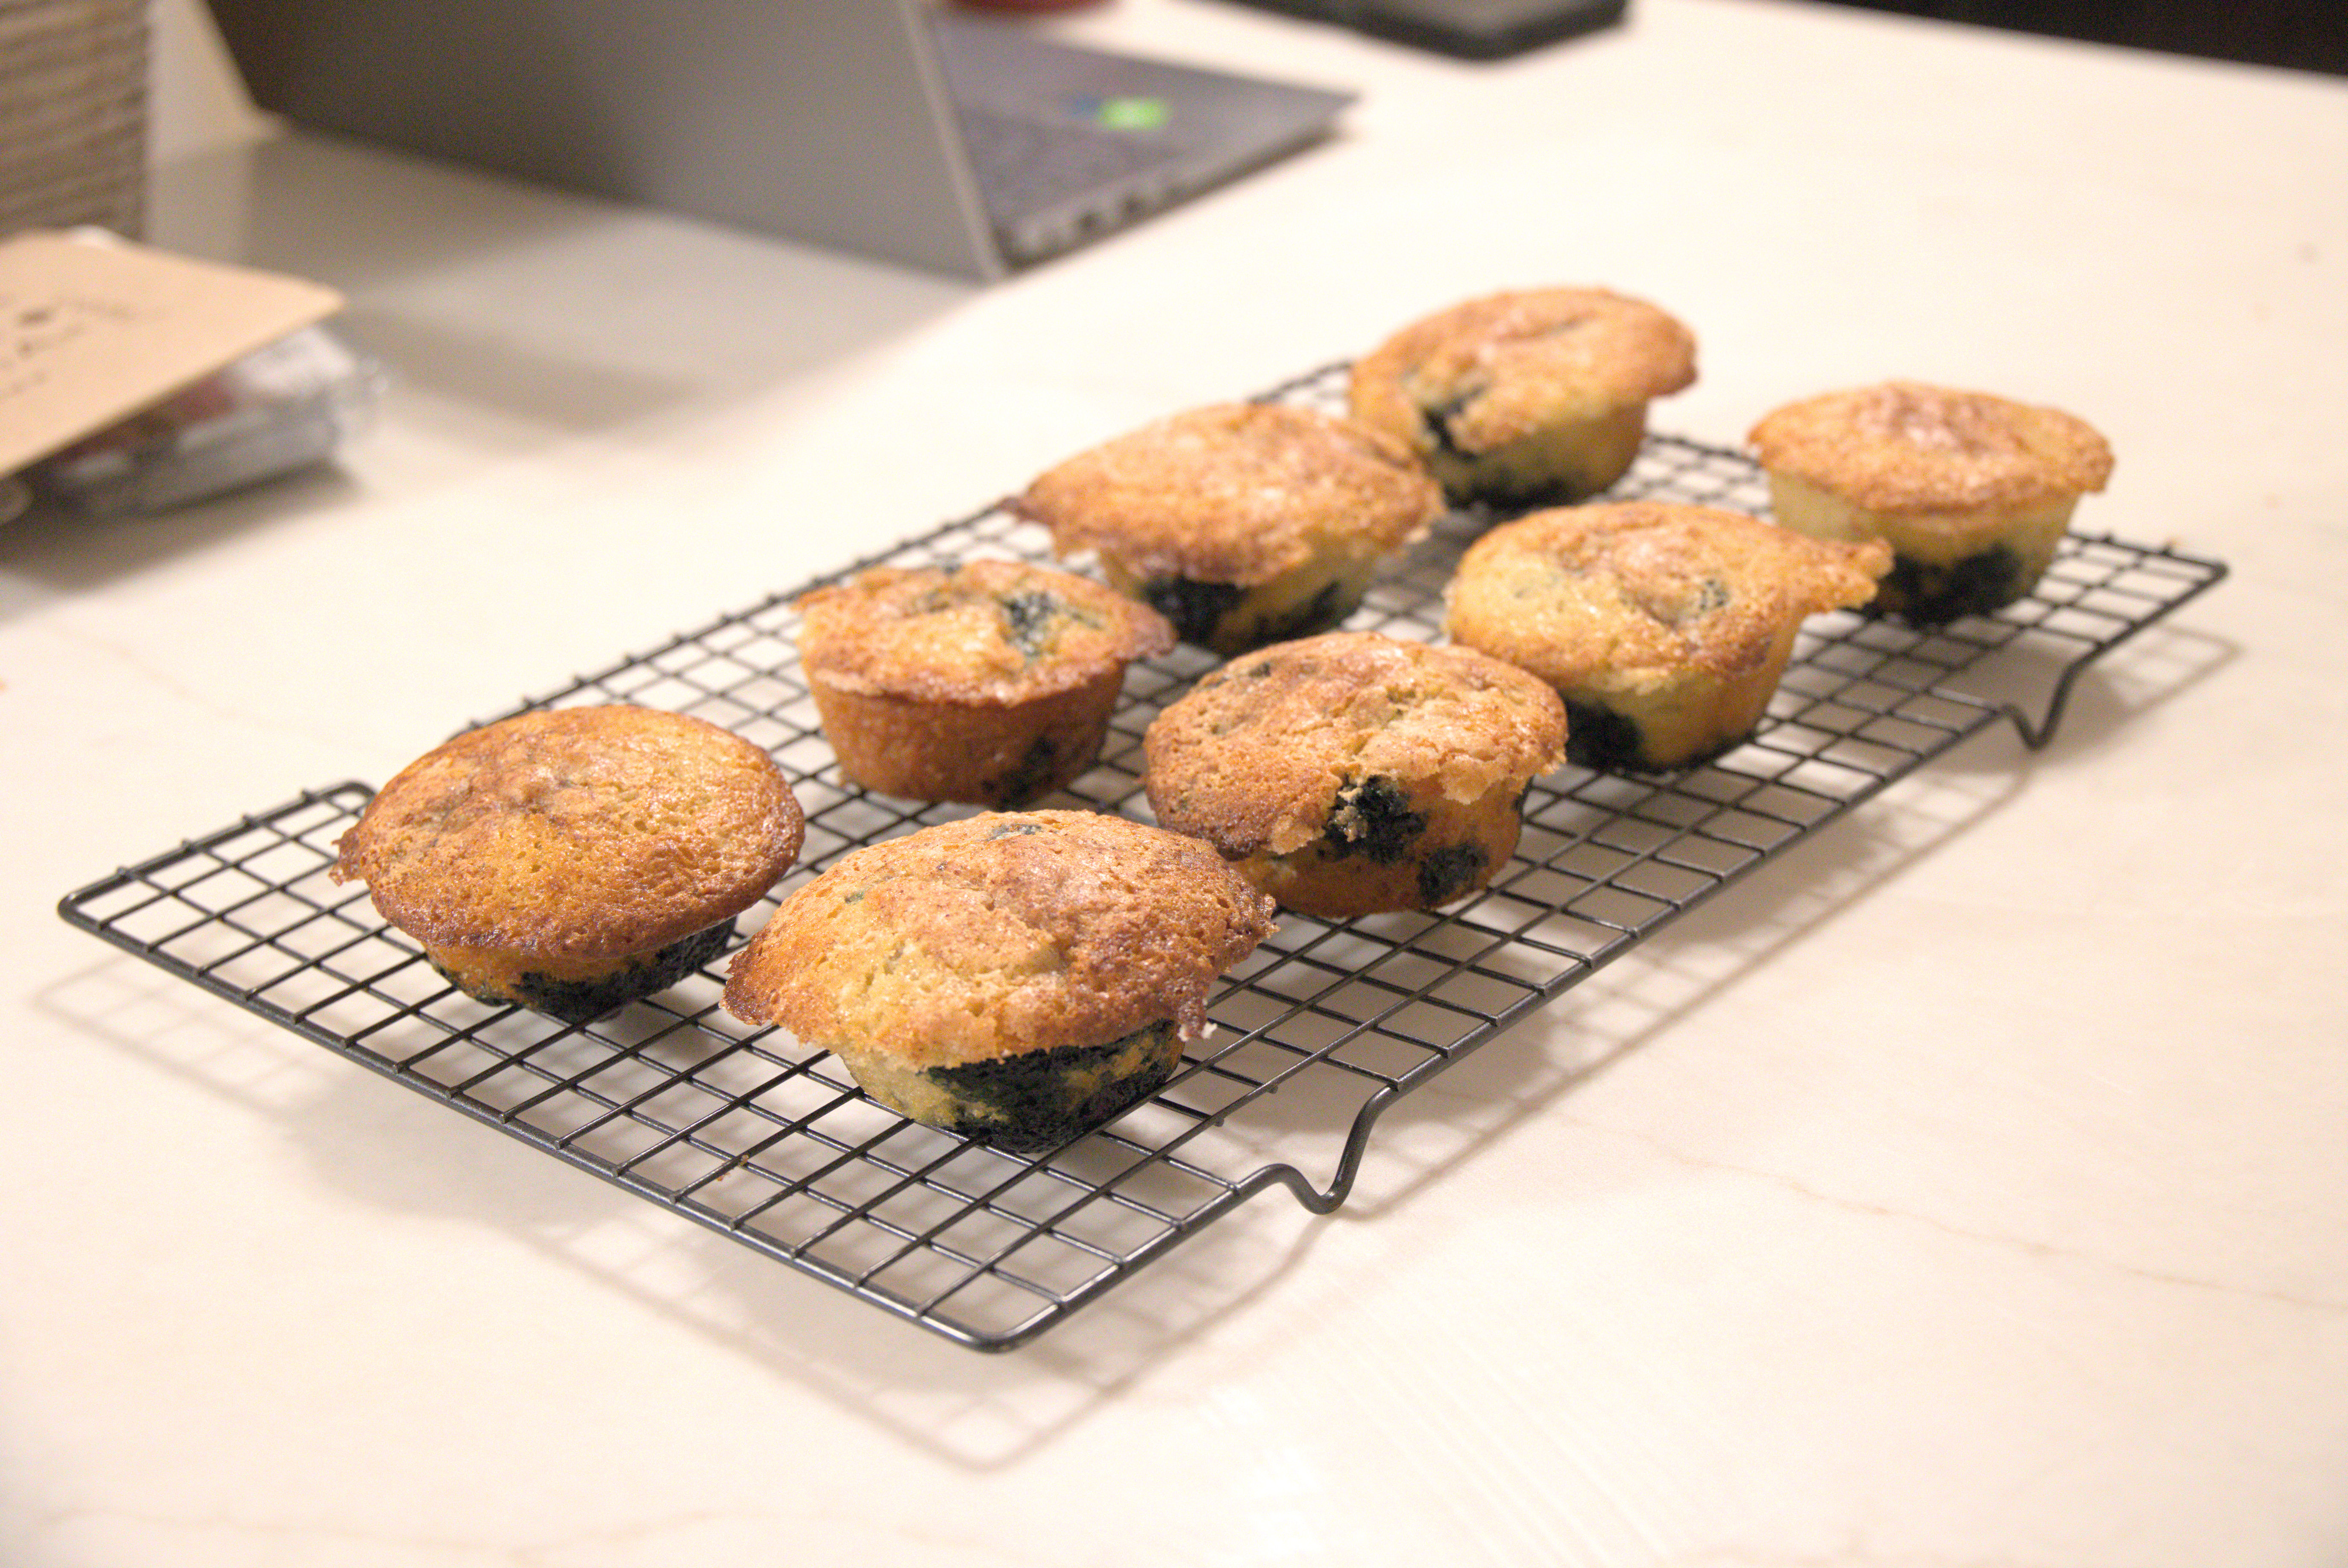
All photos are of the specific recipe taken by me.
Index
Bread
- 400g bread flour
- 8g diamond kosher salt
- 3g instant yeast from freezer
- 300g warm water (~120f)
- 1/8tsp (a few drops) white vinegar
For hardware you need a
large bowl, a
gram scale, medium bowl that can
act as a lid
for a dough ball inside of the large bowl, and parchment paper
for lowering the bread inside of the dutch oven
(~6 quart).
- Day 1: Take out a large and medium bowl.
In large bowl, combine dry
ingredients and mix by hand for a few seconds.
- Add warm water and vinegar and mix
until fairly homogeneous (not more than 1 minute or 2). Seal with
medium bowl (covering dough) and let rest for 20 minutes
- Dip fingers in water if needed to avoid sticking,
pinch a side, stretch out slightly and fold inward. Repeat 5 or so
times working around the dough. Finally, flip dough so top is on bottom
and replace medium bowl as lid
- Repeat step 3 once every 15-25 minutes, for 2-3 hours. (no need
to be a perfectionist with this step)
- Once 2-3 hours is completed and dough is supple, solid, doesn't
like to stretch and
not that sticky, refrigerate for 6-18 hours with lid on.
- Day 2: Remove dough in large bowl with lid from
refrigerator. Leaving lid on, let warm up for 1 hour.
- After warmed up 1 hour,
punch and poke dough until as much air as possible is removed.
- Pull 5 points around dough at edges one at a time, to the center
point to shape dough into its final form. Dust it with flour.
- In a bowl lined with a flour dusted towel, place the dough
folded side
down into the towel—so it will be flipped upside down as
its moved into the
towel.
- Dust the newly exposed side of the dough with flour.
- Then cover the dough in the floured towel with
something to keep it from drying out (e.g. a flat baking sheet)
let dough rise for 2 hours.
- Right after folding the bread (with 2 hours left) set oven to
440 and put a covered dutch oven in it to preheat.
- After 2 hours, once bread looks a bit raised, transfer to
parchment paper lined baking sheet by placing the baking sheet over
the bowl then flipping the whole thing
- Remove lid from dutch oven, with oven mits lower bread with
parchment into the dutch oven. Replace lid. Cook for 27 minutes.
- Remove lid and cook for another 7 minutes or until you like the
color of the bread
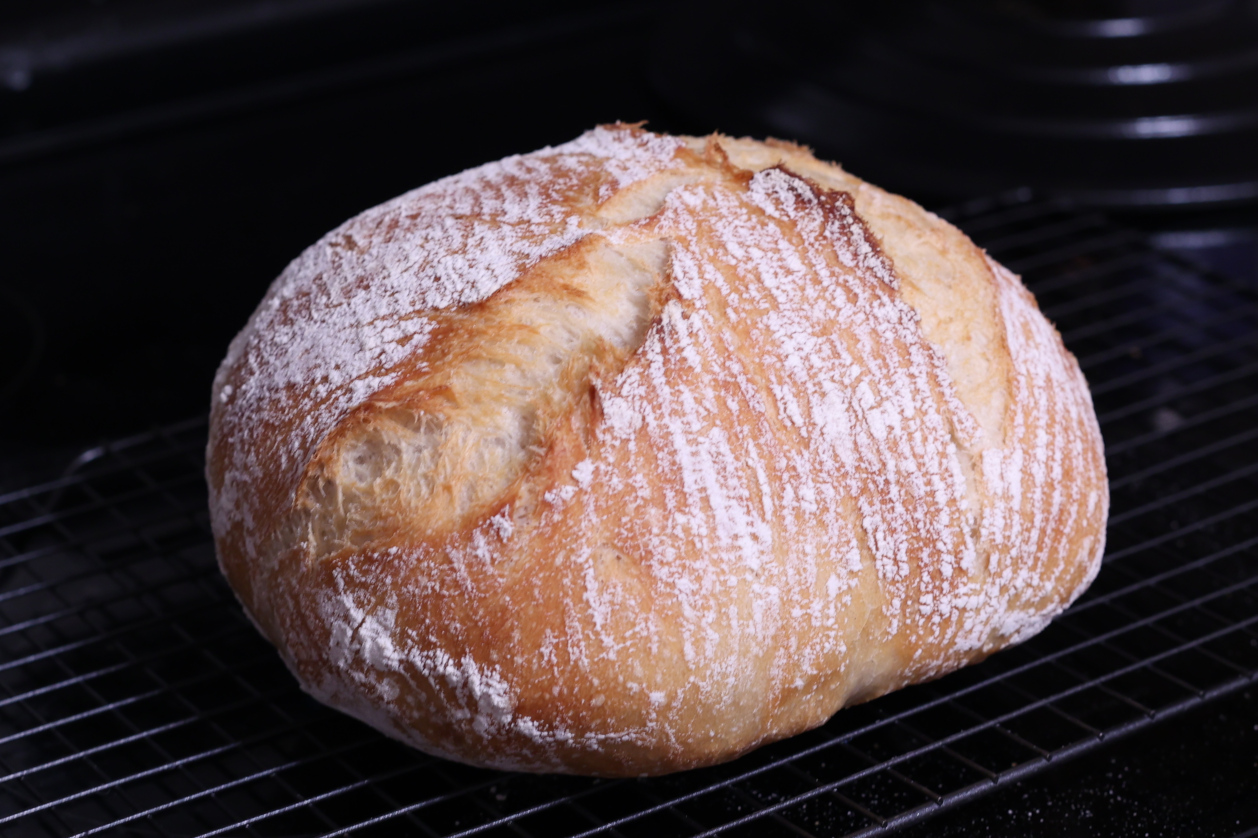
- I think this is about the best bread you could hope to make
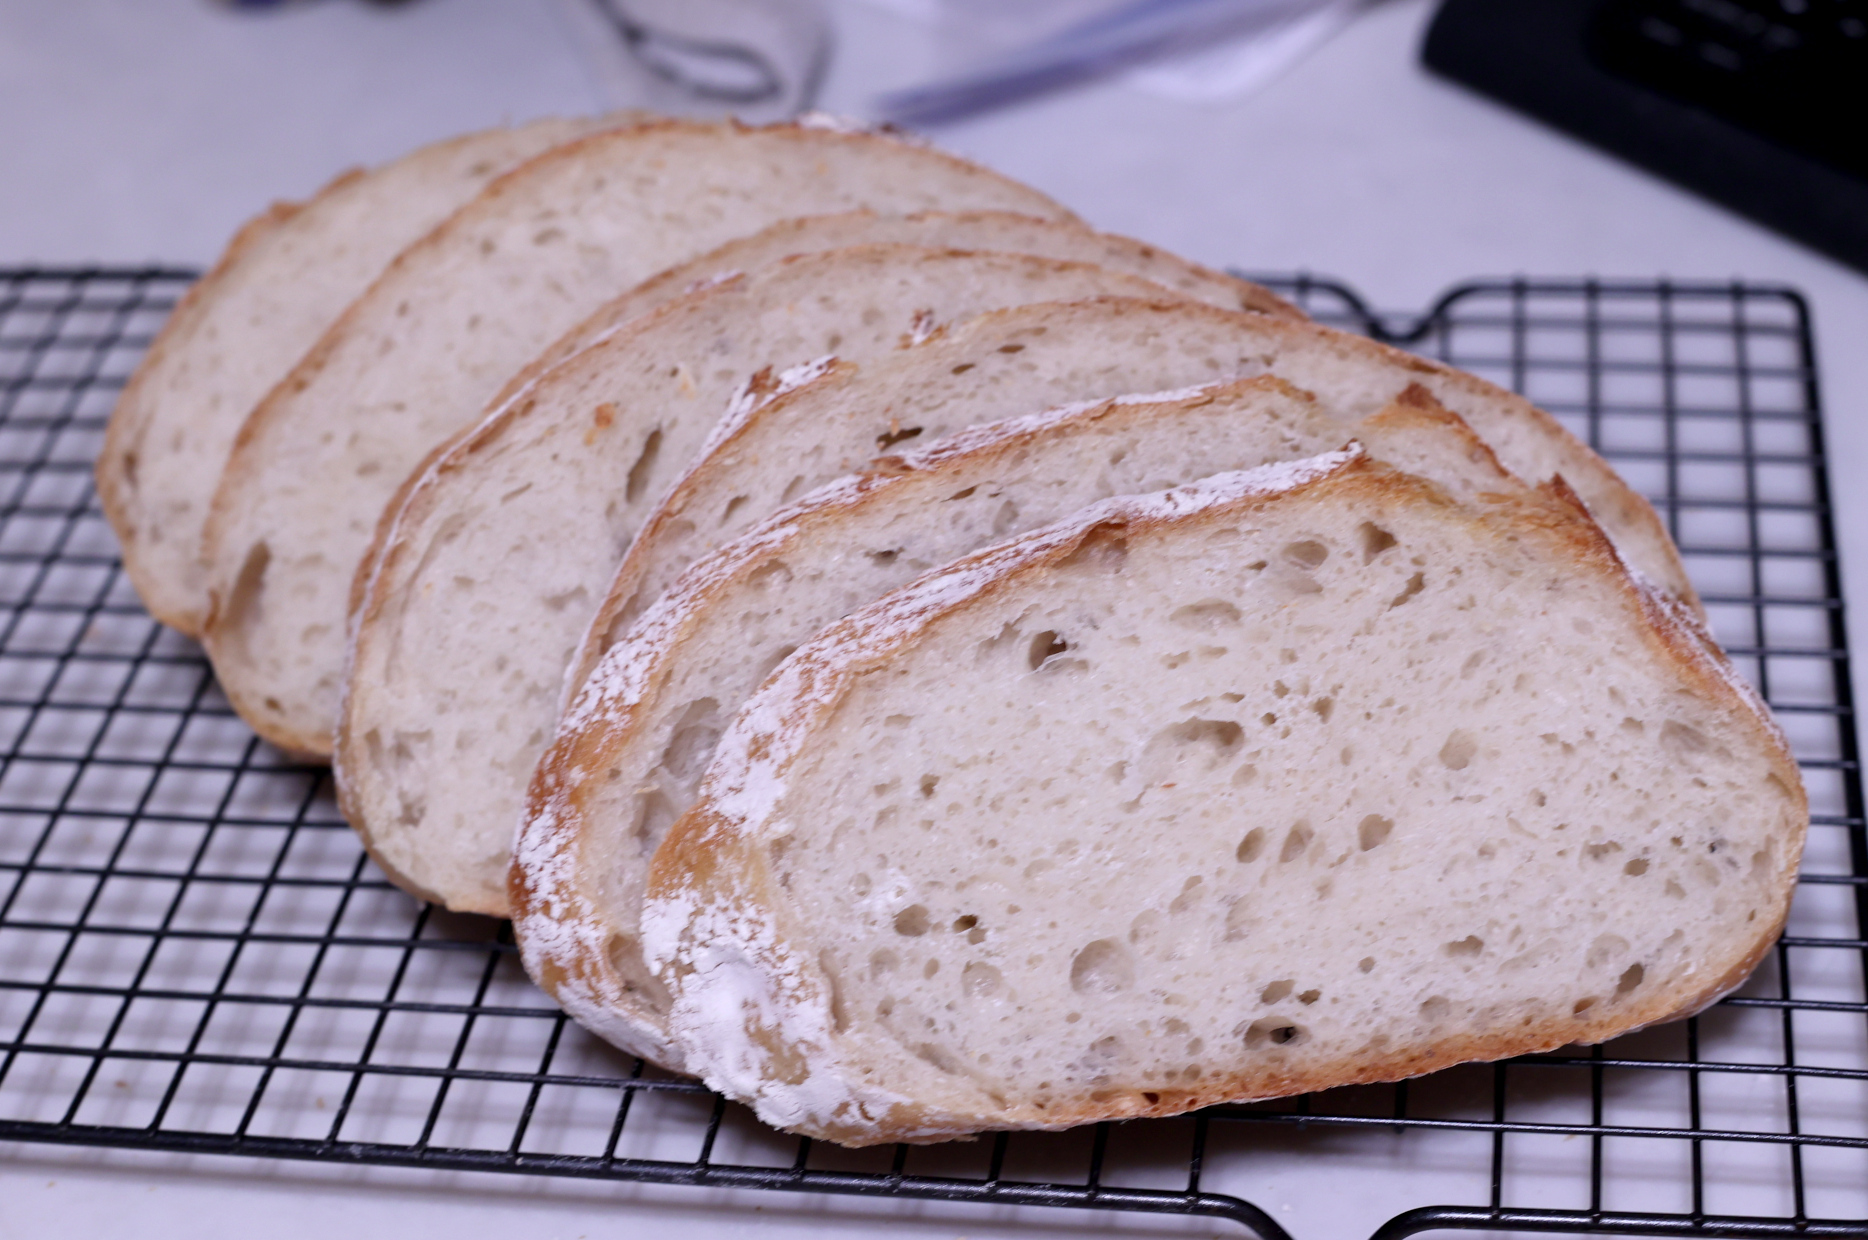
in your kitchen. It has a chewy, crunchy crust and a moist flavorful
crumb. Simple, yet complex if you eat it mindfully. Baguette like.
- It's my everyday bread. To make it last I cut it into
slices and freeze them for later individual use.
- Even if frozen for over a month, eating this bread toasted
with just good quality butter is really good.
- There are no preservatives here, so it's only optimal for a day
or so after baking. You can add preservatives to make it last
longer without freezing.
- This is a hybrid of a Lopez-Alt and Lahey recipe. I basically
memorized it, did it 100+ times over years, then re-wrote the recipe
from memory.
- Lopez-Alts NYT version is almost 5000 words. I tried to be
a little more focused and concise.
- If this recipe feels like too much work
to you, look up Jim Lahey's classic no-knead recipe—it's
easier to make and is still much better than grocery store bread.
Brownies
- 113 grams unsalted butter (1 stick), some extra for greasing
- 200 grams granulated sugar
- 86 grams dark or semisweet chocolate chips
- 2 large eggs
- 1 tsp vanilla extract
- 47 grams unsweetened cocoa powder
- 64 grams all-purpose flour
- 0.5 teaspoon kosher salt
- 1/8 teaspoon baking soda
For hardware you need a
large sauce pan, a
gram scale, an
8x8 baking tin, and an
8x8 inch piece of parchment paper cut out for
bottom of tin
- Set oven 325f
- Put stick butter + sugar in large saucepan, cook on medium until
simmering, stirring occasionally
- Turn off heat, add chocolate chips and stir until combined.
Move pan off heat and let cool for 10 minutes (at least)
- While cooling, put 8x8 parchment cutout at bottom of 8x8 tin and
grease tin
- Once saucepan is warm to touch, vigerously whisk in eggs and
vanilla for 1 minute
- Whisk in cocoa powder until incorporated
- Stir in flour, salt and baking soda with spatula
- Move batter from large saucepan to prepped tin, even out,
cook for 25-26 minutes (testing with toothpick or examining to
determine when done)
- This part is tricky: How long to cook it depends on your oven
and on your 8x8 inch baking sheet, its cook time really varies.
- Test it with a toothpick and see if it comes out clean after
~25-26 minutes
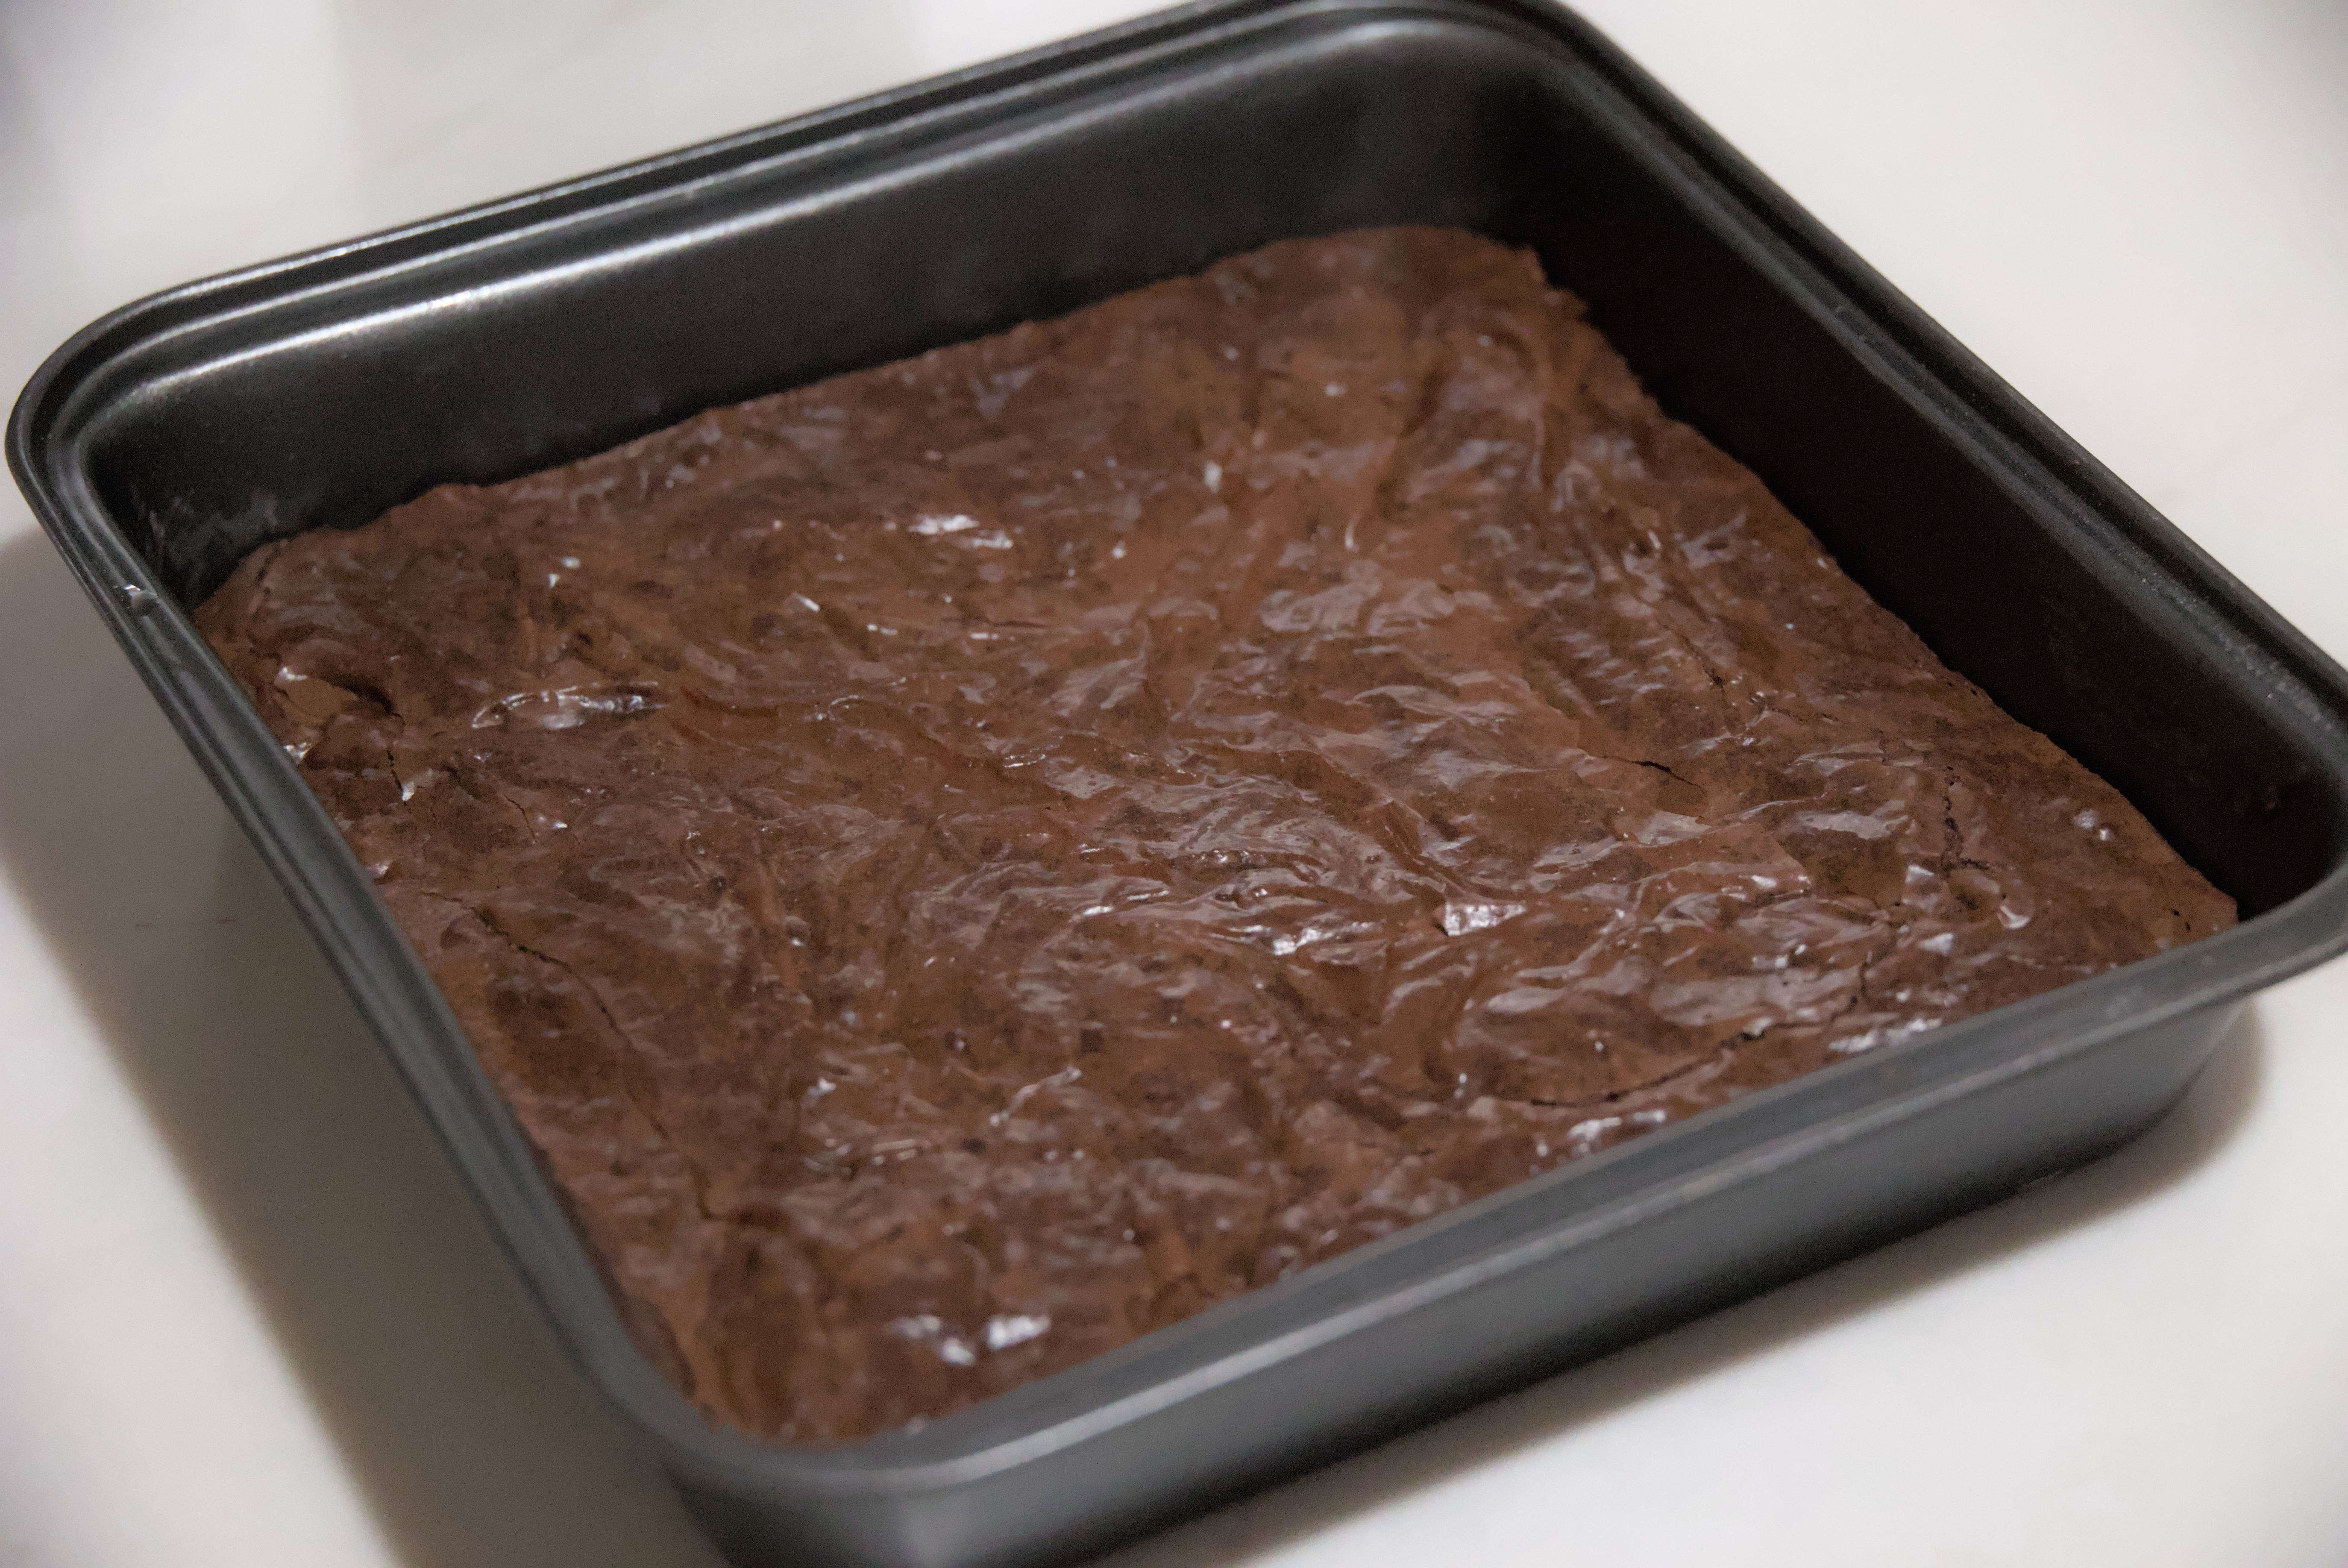
- Look at the edges, when the very edges become dry and cracked
and start to seporate from the sides of the sheet, its probably
about done if you like your brownies medium/medium-rare like I do.
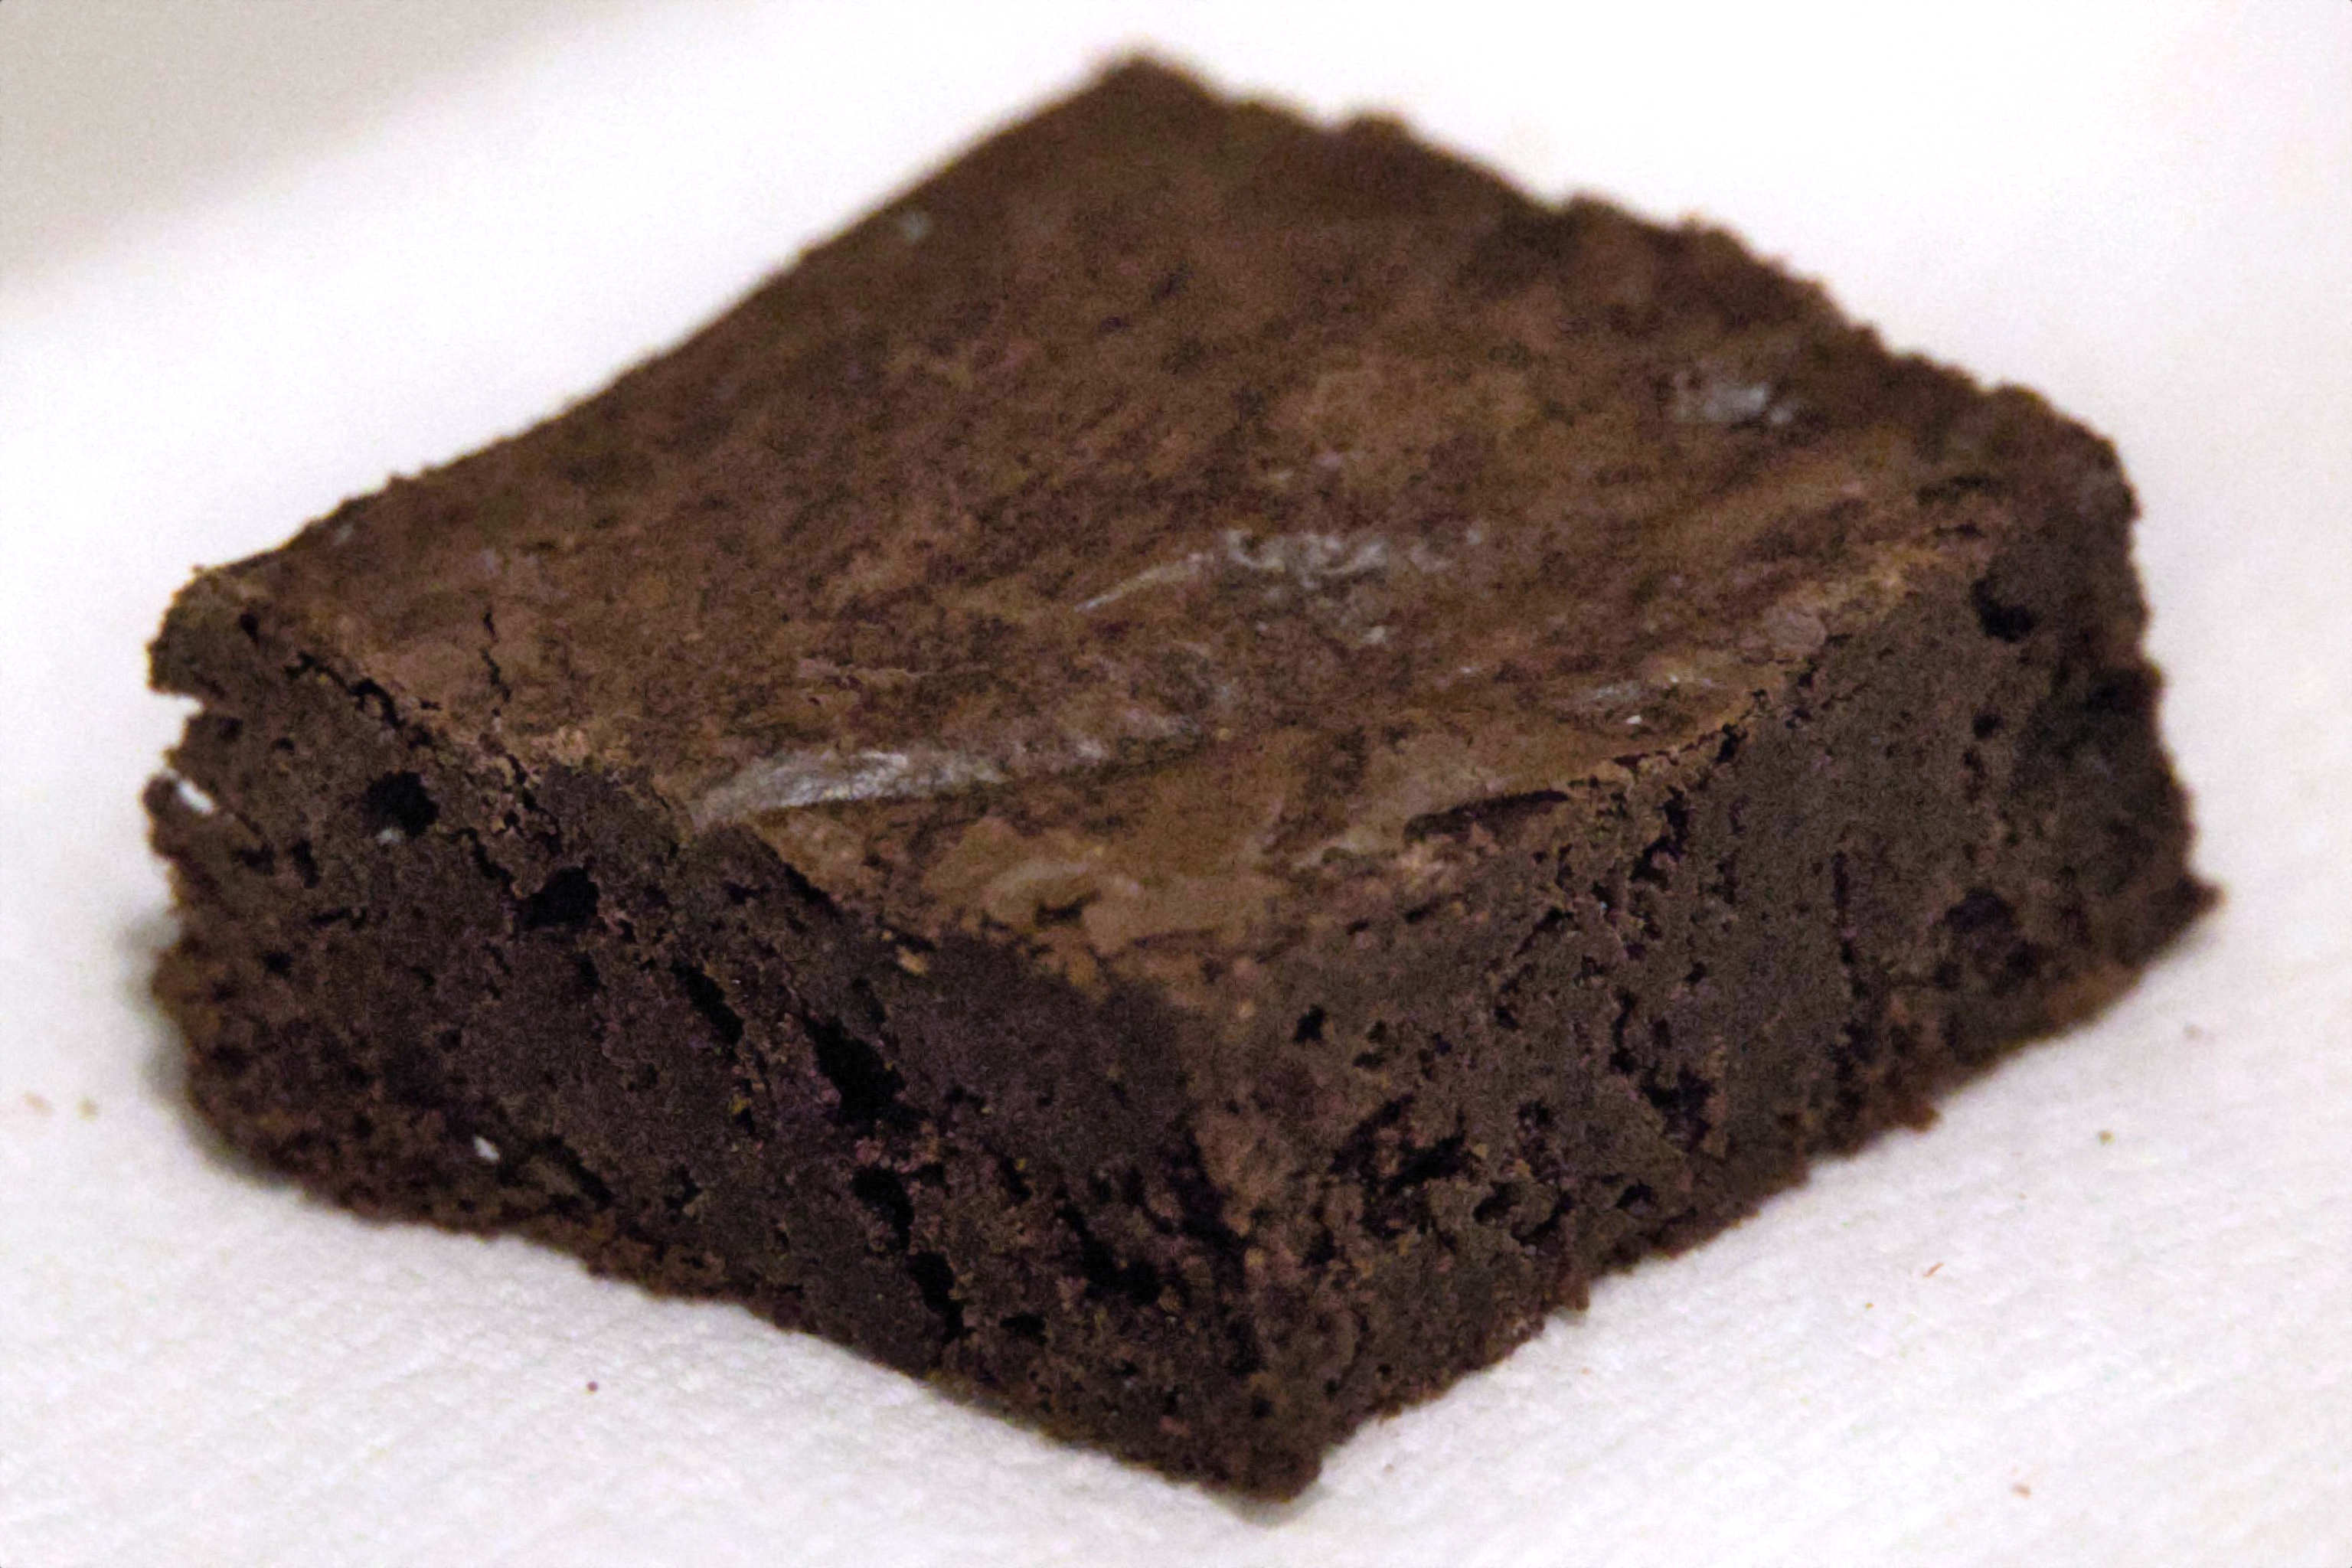
- I highly recommend this recipe. If cooked the right length of time
the end result is, in my opinion, the ideal brownie.
- This is a fast and easy recipe without much cleanup once you've done
it a few times.
Making Coffee
- A instant gram scale that measures to a tenth of a gram.
- I use the KitchenTour Coffee Scale with Timer 3kg/0.1g
High Precision ($20)
- A coffee grinder
- At home I use a OXO Brew Conical Burr Coffee Grinder with
Scale ($160), which measures out in grams exactly how much coffee
you want each grind. I had to modify it after it came to get it
to work—a famously poorly constructed product. But the
idea of a grinder that weighs grams is a good one and if something
like that exists in a better form I'd recommend it.
- Away from home I use CEVING's World's First 60g Large Capacity
Manual Coffee Grinder ($30) and it's fantastic and very well made.
For 16oz of coffee I grind 30 grams of coffee beans. This
grinder takes about 50 seconds to grind 30g, at the middle
coarseness setting. It's compact, relativley quiet and requires
no electricity (you have to turn the crank).
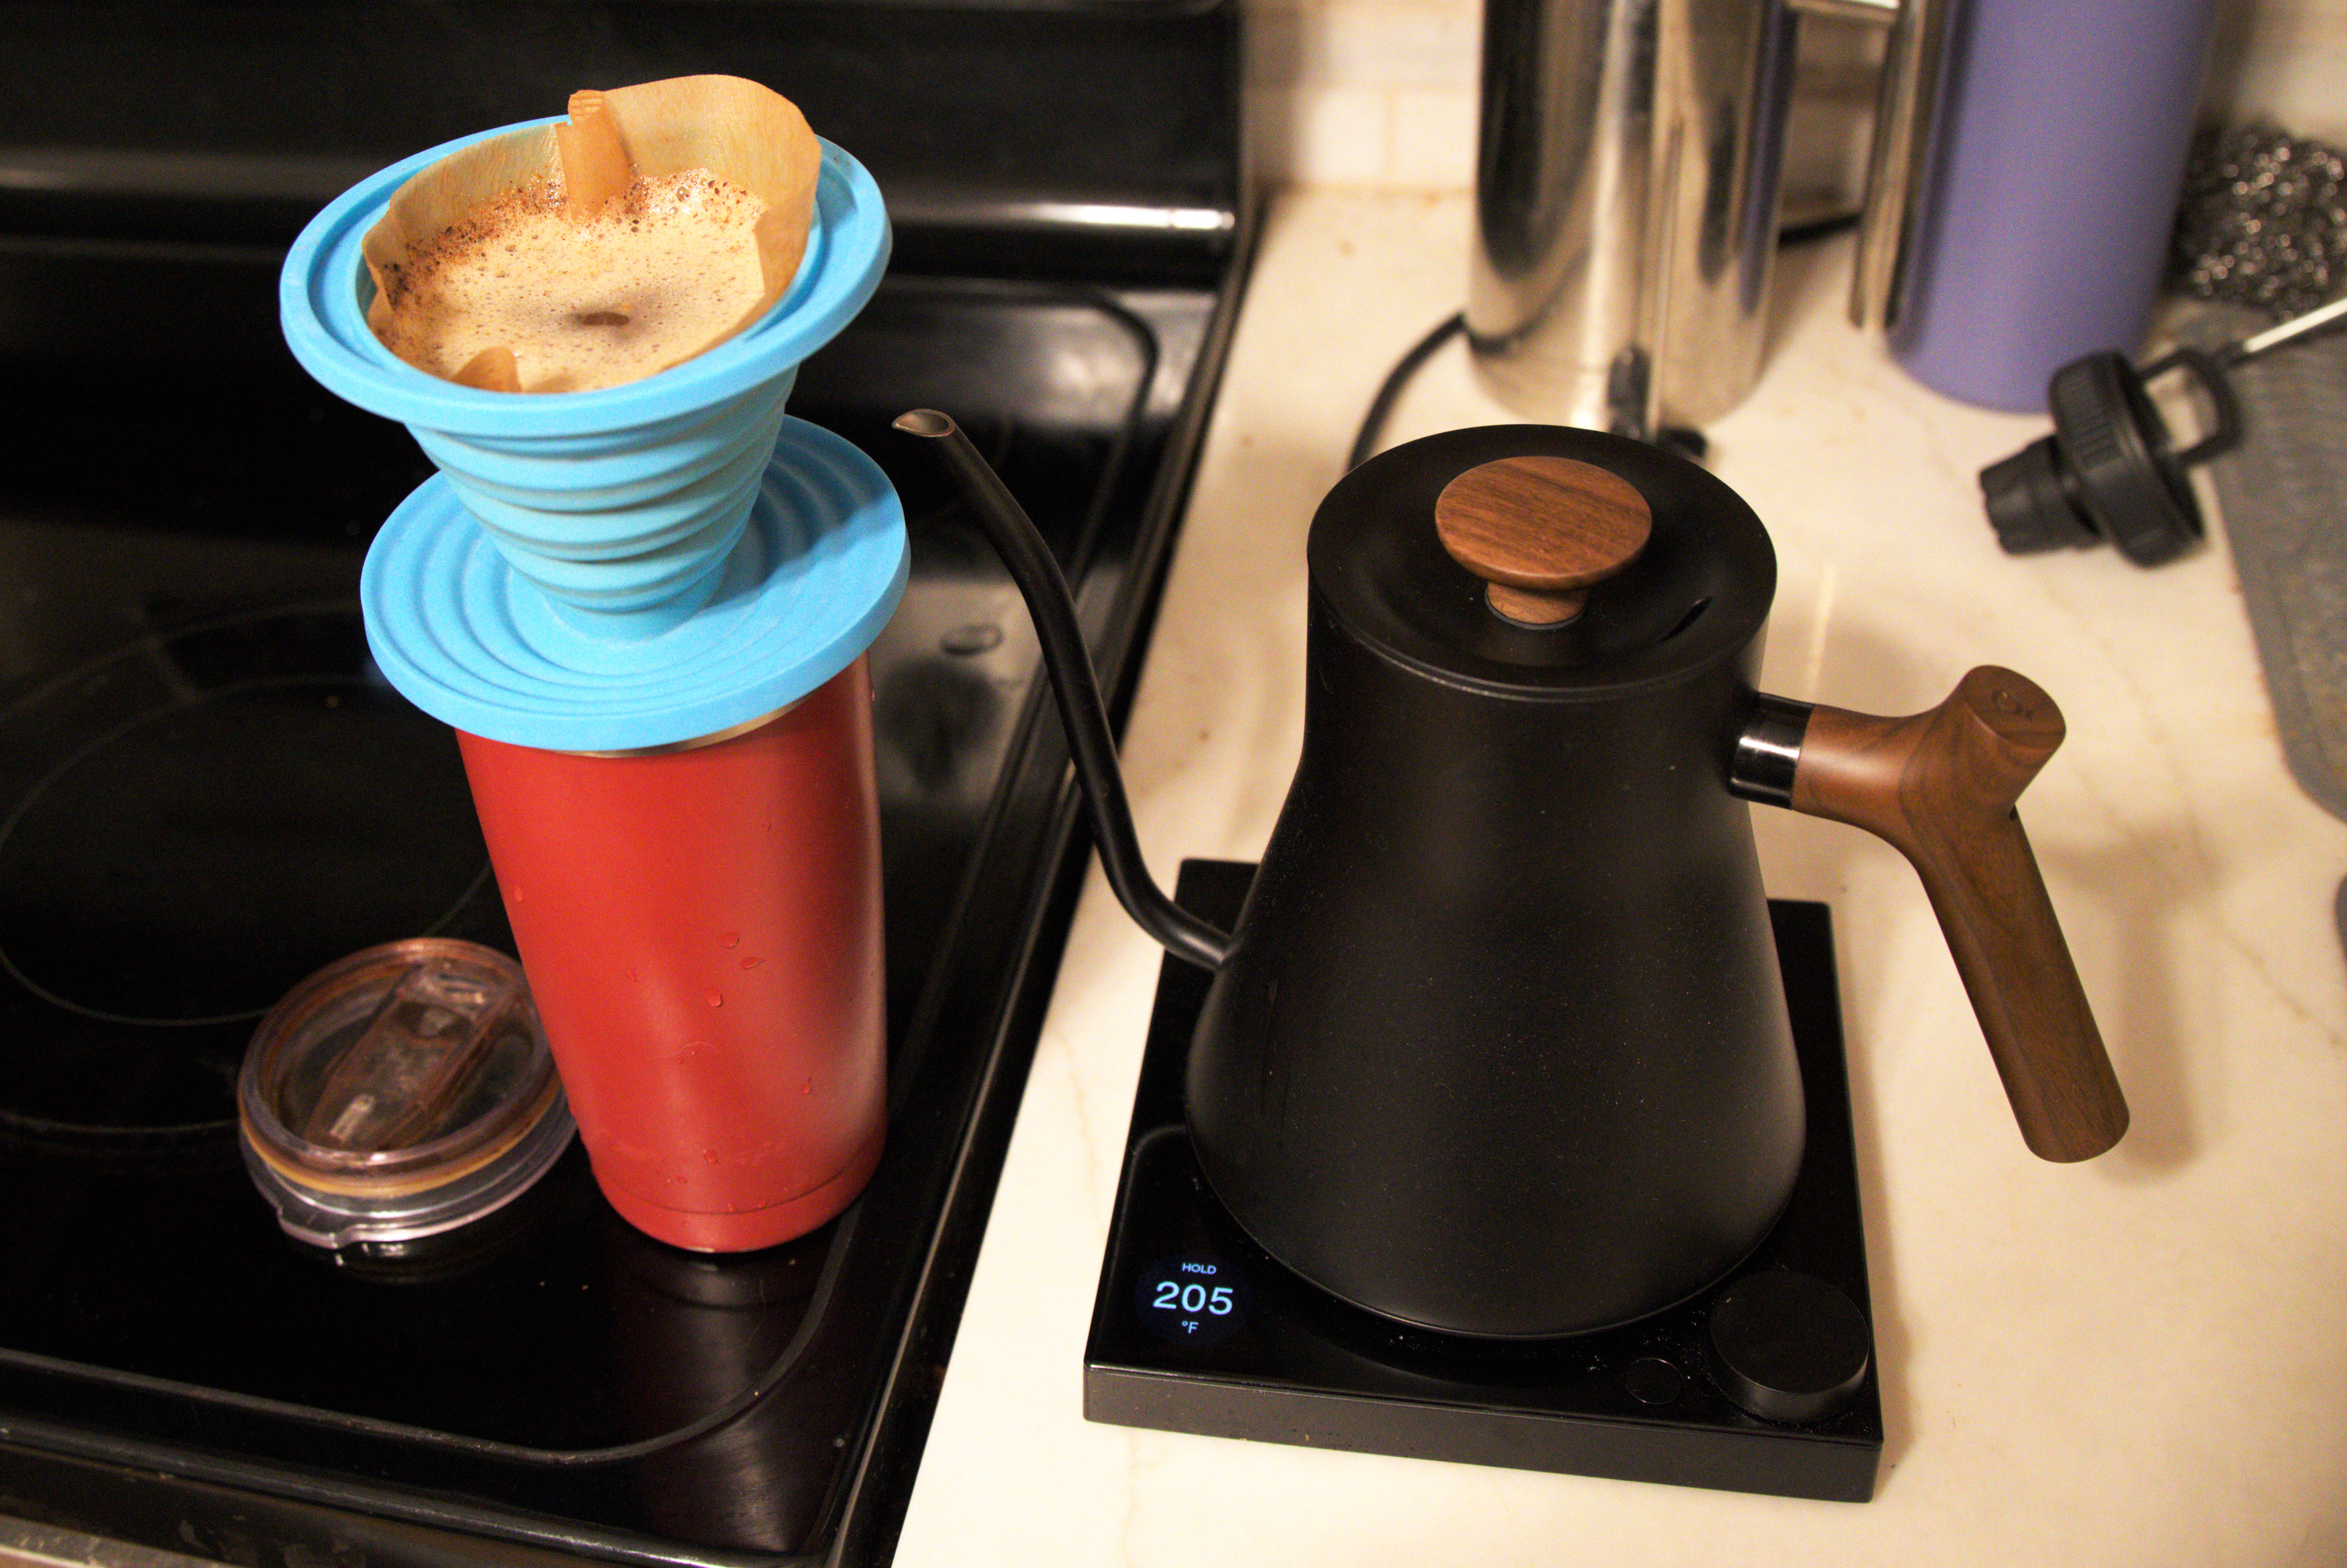
- A kettle that can set a "sustain", "hold" or "keep warm" temperature
feature.
- I use a Fellow Stagg EKG Pro Studio ($230) at home because
it can keep warm any temperature and can boil at a scheduled time.
You get something similar for $70 if you can forgo the
scheduling feature. The Stagg is also pretty and has real wood,
which helps justify how overpriced it is. Whatever you get,
I would make sure it's gooseneck, you can adjust
temperature to the degree and keep warm works up to 205f.
- A cone to brew the coffee in
- For a 16oz thermal coffee cup, I use a $6 Collapsible Coffee
Dripper silicone cone from Amazon with a #2 coffee filter. It
can make coffee as good as anything else, and since its collapsible
its very easy to store. Other options are more expensive and
aesthetically pleasing.
- When making 30oz of coffee, I use a $50 6-cup Chemex with an
official filter. Very pretty, but more expensive than above method
with roughly the same result.
- If you do this with freshly ground beans you roasted or high quality
beans in general, the end product will be much nicer than what you
can get just about anywhere else.
- Set water temp to 205f for washed beans (most common), 200f for honey
process beans and 195f for dry process beans. Enable temperature hold
if you have it. Prescheduling can save time before work.
- Grind 30 grams of beans to medium fineness for 16 oz,
60 grams of beans for 32oz.
- Add grounds to filter in cone over double walled stainless
steel 16oz tumbler or chemex. Put chemex over lowest heat on stove if i
using chemex.
- Just wet all the grounds in first pour, wait 45 seconds and watch
grounds expand from releasing gas (sign of good coffee).
- Then just pour water until cone is mostly filled and let drain
before next pour. Multitask between pours if you are busy.
- All coffee is different, so keep notes on water temperature,
grams brewed, and type of coffee. Overly mild coffee might need hotter
water, biting or funky tasting coffee less.
- If it's a scheduled morning boil and you multitask between pours,
this isn't any messier or signficantly more time consuming than Keurig.
Toss out the filter, rinse the cone/chemex when you're done.
- French press coffee is out of style now,
but I think it
can be a treat sometimes—you save a coffee filter but cleaning
after is much more of a hassle. It can be richer, denser, grainy and
thick.
Instrunctions with same measurements for pour over:
- Note current grind setting and
set grinder to coarser setting before grinding.
- Put the grinds in the carafe
- Pour in the hot water
- Give it a little stir
- Replace the top with the plunger up
- I like to wait 5 minutes (coffee
geeks would say 3 but I like to go all in), then press the plunger down.
- After finshed, clean by adding water
to base and pouring through sieve
to throw away most coffee grinds before rinsing off the rest.
Muffins
This is an extremely minimalist muffin recipe. Start with the universal
steps then finish it with desired flavoring (examples included)
- 180g all purpose flour
- 99g sugar
- 0.5 tsp salt
- 1.5 tsp baking powder
- 227g milk
- 75g butter (melted)
- egg
- See flavors for flavor ingredients
- Set oven to 350 and grease muffin tin (I rub the inside of my
muffin tin with with a stick
of butter, but I hear nonstick spray does the job well too)
- Mix dry and wet ingredients in different bowls
- Follow flavor specific instructions (Chocolate chip / blueberry)
- Pour wet bowl in dry bowl and mix, try not to over mix
- Fill almost to top of each muffin cup
- Bake until a toothpick comes out clean, about 15-25 minutes
(I bake to 24 with my dense silicone muffin tin but it varies wildly)
- For Chocolate Chip Muffins, just stir in 170g
chocolate chips to batter before distributing.
- For Blueburry Muffins:
- add to wet bowl 1 cup washed
blueberries, 1 packet of True Lime / True Lemon
or 1 or 2 tsp lemon juice
and 0.5 tsp vanilla extract
- After putting batter in muffin tin heavily sprinkle batter with
Granulated Sugar, and grind some nutmeg over each muffin.
Roasting Coffee with the
FreshRoast SR800

- Do not buy this if you plan to roast a lot of coffee.
It's a good learning tool with good results
but its smokey, messy, stressful and time
consuming. My ITOP "Skywalker v1" clone ($500 on Amazon) makes it
logistically realistic for me to roast all the coffee I drink, where
as that would be too much work for me to justify with my
FreshRoast SR800 ($300). I would avoid air roasters in general.
- Ventilate area with fan, be aware of smoke alarms which may be easily
triggered
- Measure beans (215-220g)on scale in vessel that pours well,
preheat SB800 to 390-400f (fan around 3, heat around 9)
- Once preheated, add beans, set fan speed to 8 or 9, set heat to
3 or 4. Start stopwatch. Watch temperature, it should land around 320
or 330—adjusting as necessary.
- When beans turn beige (very little green left, should happen after
about 3 minutes)
set fan to 7 and set power to 8.
Temperature should land between 370 and 380—adjusting as needed
to get within that range.
- After 3 minutes and light brown, increase power to 9 and decrease
fan to 6 to get temperature around 400f. When stopwatch is around minute
6.5 to 7 you should hear beans popping.
- Cook at 400-420f for about 2 to 2.5 minutes after popping starts
to get light-medium roast.
- Put fan at 9, power at 1 and put in SR800 in cooldown mode
- Transfer to quart-sized mason jar and label. 2 batches of 217g
coffeee should fill a quart jar to the top. Use a jar with a loosely
screwed on lid to allow degassing for a few days.
- The power and fan levels necessary for each stage are very
subjective—it depends on the temperature of the room, the
voltage of your outlet and the mileage on your SR800. The original
guidelines I made for myself now wouldn't get the beans hot enough.
It's inadvisable to trust instructions that are just fan levels, heat
levels and time.
- The built in thermometer should also be treated with a degree of
skepticism. If first crack is early or late adjust the handycap you
give the thermometer.
- If you get uneven roasts (light and dark beans) try doing smaller
batches or buying a longer tube.
- I've roasted hundreds of batches of offee with the SR800—and
the results were great—but
I wouldn't recommend it to others and I don't use mine anymore.
In my opinion, the SR800 demands too much constant active attention
to get each roast right. It's smokey, it requires a fair amount of
cleaning after each roast, and it only roasts half-a-pound at a time.
I roast all the coffee I drink fresh—its just not sustainable
with the SR800.
- I currently use the NIASIA PFK 500g roaster, which is an example
of a first generation (v1) Skywalker style chinese roaster. They can
be purchased at around the same price as a SR800 from AliExpress.
- The Skywalker allows you to vent smoke out a window with ducting,
which sounds inconvient but is actually much nicer than flooding your
home with smoke. It also includes hands-off automatic routines
so it doesn't need to feel like a high wire act every time you
roast.
Shin Noodles (microwave extras)
- Nongshim Gourmet Spicy Shin Noodles - 3.03 oz microwavable bowl
- 1 slice American cheese (optional)
- 1 egg (optional)
- ~80g cooked meat such as spam, bacon, ham, pork (optional)
- Briefly sautee meat with some oil if you want.
- Fill water to line, add soup base, microwave 1
minute with plate or paper towel underneath (dispaced water may boil
over).
- Add raw egg and meat if frozen. Microwave 3 minutes.
- Check: if egg not opaque microwave 30-60 seconds (depends on
microwave and temperature of water going in)
- Remove from microwave and add cheese and meat. Let cool for 2 minutes
and stir in melted cheese (it becomes one with the broth).
- Shin Noodles are very tasty, but quite hot. Adding a single
slice of American cheese at the end really balances them out it.
Also, due to America's history with Korea, it's a
suprisingly traditional alteration. In addition to taking the edge
off, it makes the broth more creamy and rich.
- It's tricky not to overcook or undercook the egg, but once you
get the timing right it cools off the meal, adds flavor and
adds calories to make a cup of noodles feel like a complete meal.
- I leave 1/4 blocks of low sodium spam in my freezer, which I chop
up, saute and add to the broth after microwaving. Spam,
like American cheese, is not as inauthentic as you might expect.
Spam by itself is pretty gross, but after being sauted and
soaking up the broth and
flavoring the broth, it's suprisingly pretty good.
Also good with pork chops, Canadian bacon and ham.
- Noodles, egg, cheese and meat—add it all together and
you have a pretty satisfying, flavorful meal in a few minutes,
for a few dollars, with almost no clean up.
- This is so simple it hardly counts as a recipe—it's
more of a reminder that you can throw stuff into microwavable
ramen to have a amazingly cheap, easy, fast, tasty meal.
Last updated 10.5.2026